Add W246 BGA (79) Keys Via VVDI Tool step-by-step
This is a
VVDI Tool mannual of W246 EIS with BGA (79) keys, add new key via OBD.
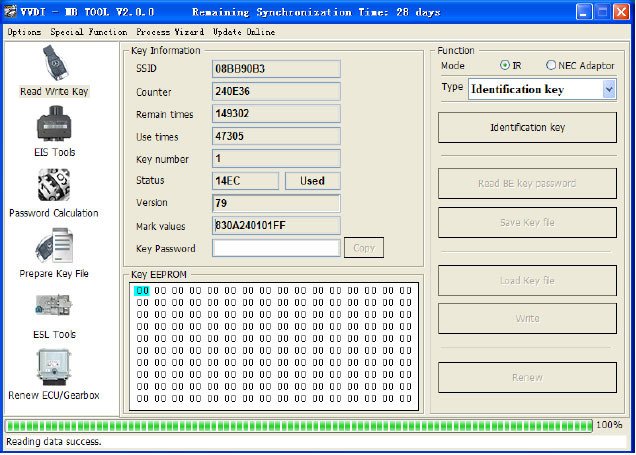
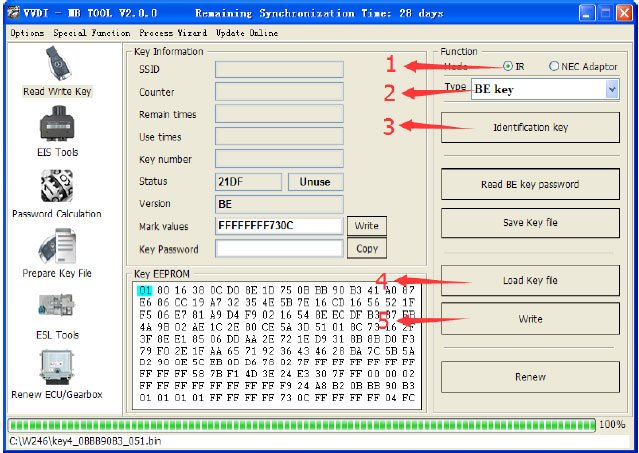
1. Insert working key to the IR reader of vvdi tool, Press “
Identification key”, check working key version
If key with BE version, you can read password via IR
If key with v51, v57 version, you can read password via NEC adaptor, or you can use password calculation
Here key version is 79, belong to BGA key. We use password calculation for key password
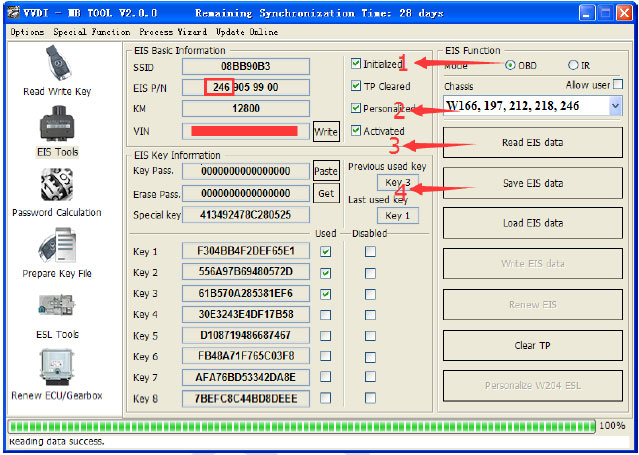
2. Connect the OBD cable to the W246 car. Select
OBD mode, chassis select AutoDetect (CAN)
Press
Read EIS data. Chassis will turn to specify item after success read
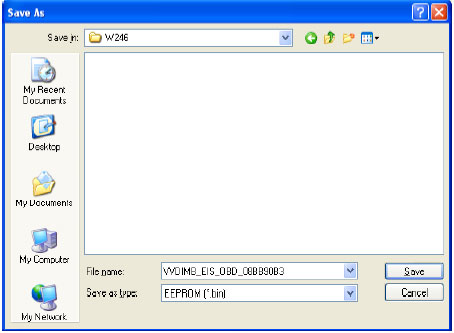
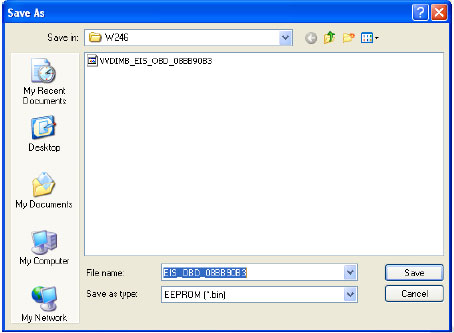
Follow steps 1->2->3->4 in picture and save EIS data
It will save 2 files, VVDI- type and HC05 type
There’s default file name when save EIS data. You’d better keep it
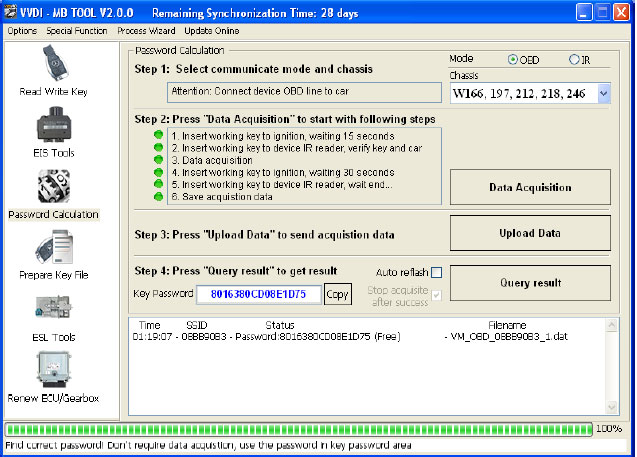
3. Enter
Password Calculation, calculate key password
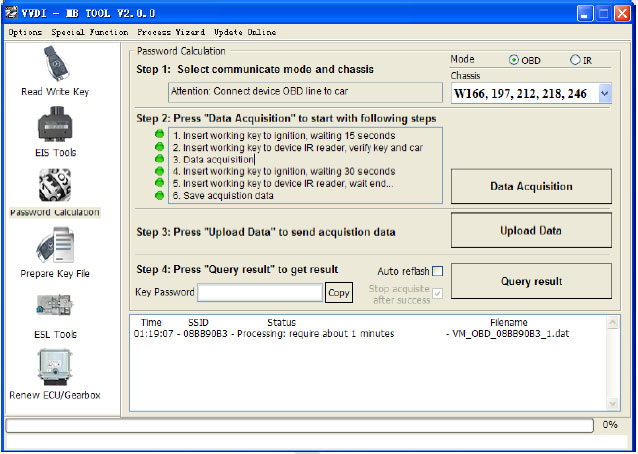
Select OBD mode, chassis select W166, 197, 212, 218, 246
Press “
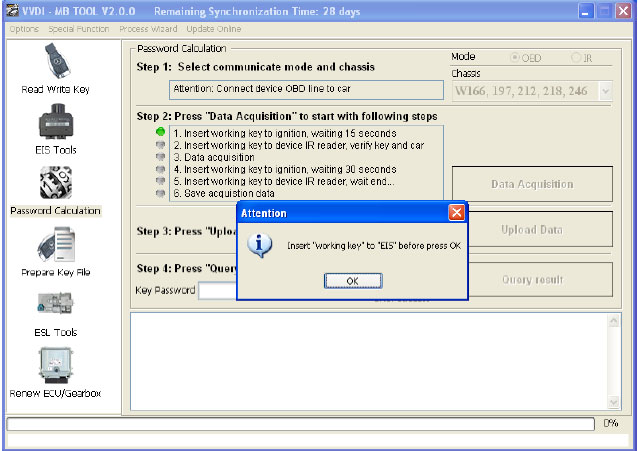
Data Acquisition”, progress with following steps
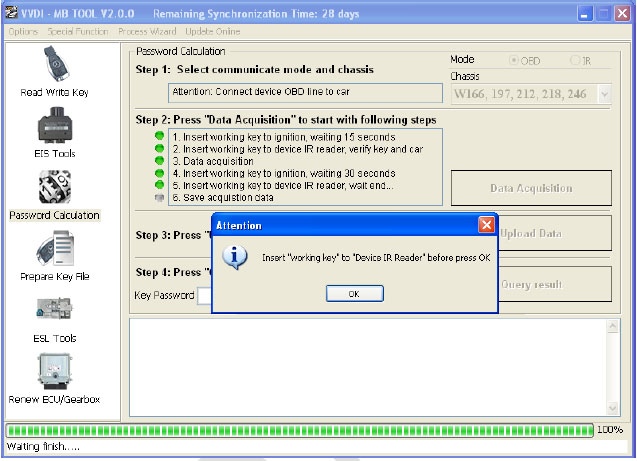
Insert “working key” to “EIS” before press OK; only insert working key to EIS, don’t switch ignition ON
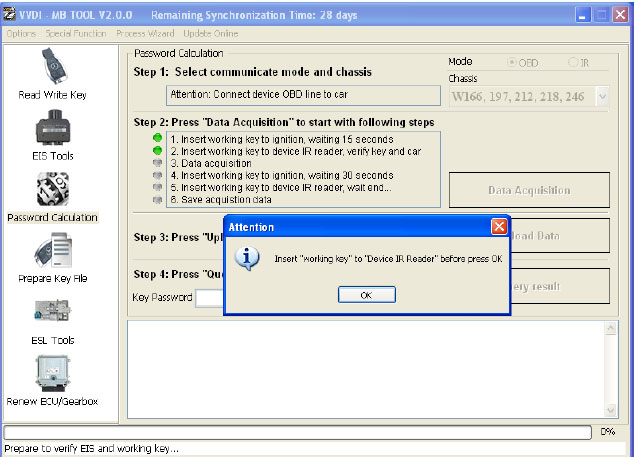
Waiting 15 seconds
Insert “working key” to “Device IR Reader” before press OK; take off working key from EIS and insert to device IR Reader, then press OK
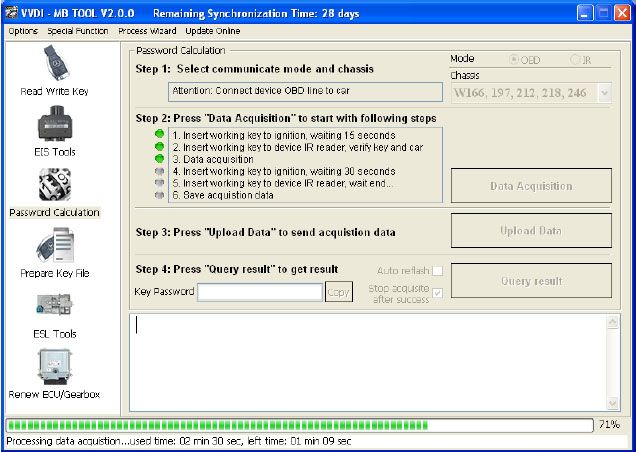
Data acquisition progress, just wait it finish. The left time will show on the bottom
After 100%, Insert “working key” to “EIS” before press OK; only insert working key to EIS, don’t switch ignition ON
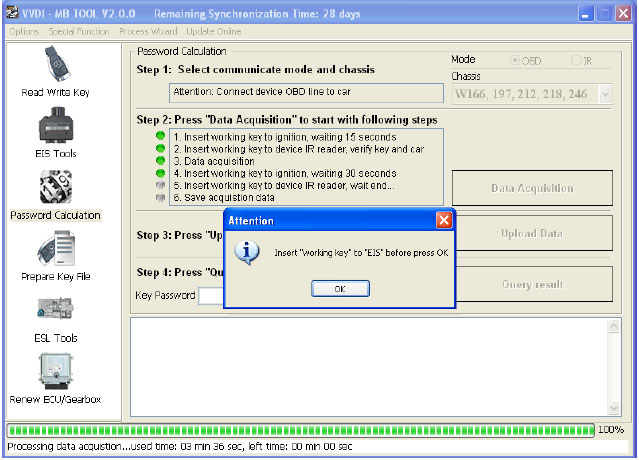
Waiting 30 seconds
Insert “working key” to “Device IR Reader” before press OK; take off working key from EIS and insert to device IR Reader, then press OK
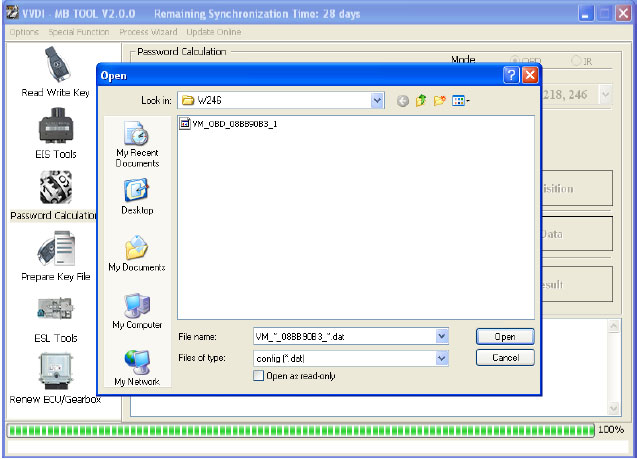
After save acquisition data you will get next window. Please keep the default file name when save acquisition data
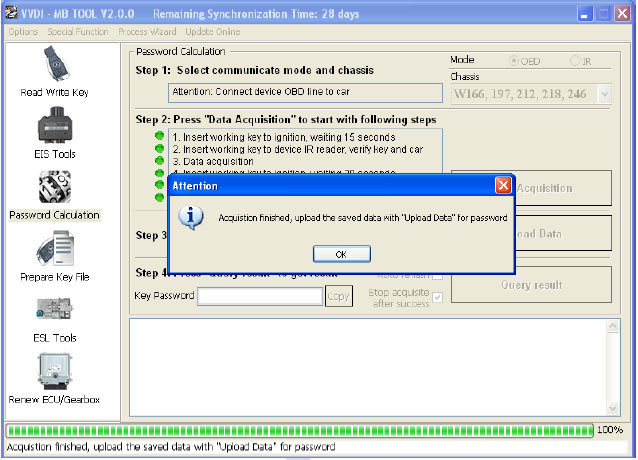
Press
Upload Data to upload saved acquisition data to server
Press
Query result to get result, you can select “
Auto reflash”, it will query server result automatically, it need about 1 minute
After calculate success, key password will display at key password area automatically, press “
Copy” copy the password to clipboard
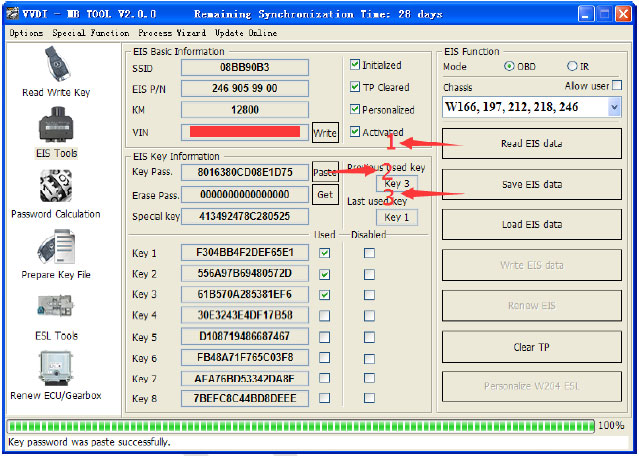
4. Save EIS data with password
Enter
EIS Tools again
Read EIS data
Use “
Paste” paste the password to key password area
Then save EIS data again
Steps: 1->2->3
5. Enter
Prepare Key File
Press
Load EIS file load EIS data with password
The file path will be shown at bottom
VVDI- TOOL will auto detect load file type, here is VVDI- type
SSID and key password was shown
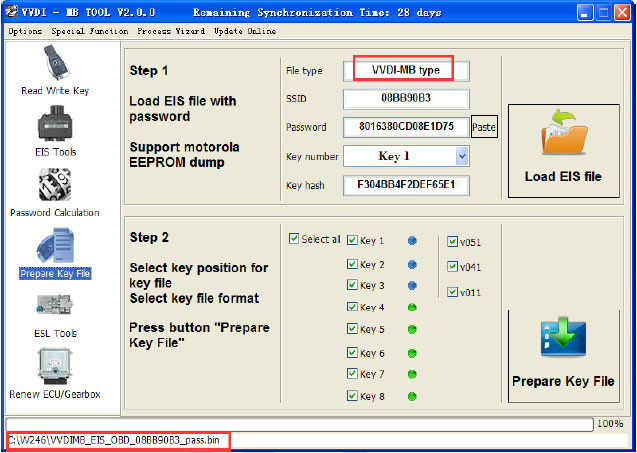
Select key position and format for key file, Press
Prepare Key File (online)
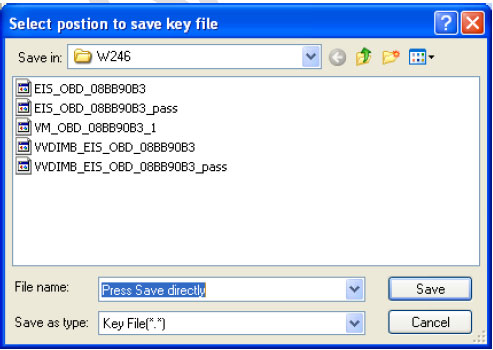
After server find success, select where you want to save the key file, press save directly
6. Enter
Read Write Key. If you want Keyless Go, please select NEC adaptor
We make a BE key.
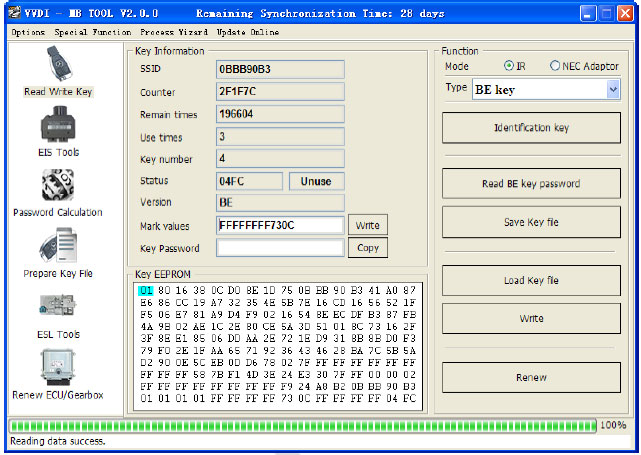
Input BE key to device IR reader, select IR mode and BE key
Press
Identification key
Load Key file, we load key 4
Press
Write
Steps:1->2->3->4->5
Press
Identification key again after write key file. You can see key is prepared success
7. Insert new key to EIS, the EIS will learn the new key
First the red light will ON , then OFF, means key learn success
Read EIS data once more, you can find key 4 was selected

8. Done! Be happy with VVDI BGA Tool!